
Finding the right typography for a vintage-inspired project can take a lot of trial and error. You want something that feels nostalgic but still reads clearly on modern screens and printed goods. The Nectarine Font offers a cool, retro aesthetic that fits perfectly into this niche. It gives your designs a distinct mid-century or 70s vibe without looking outdated, making it a reliable choice for both digital and physical products.
What makes a retro display typeface work for modern projects?
Display fonts are specifically designed to grab attention at larger sizes. Unlike body text, which needs to be highly legible at small scales, display lettering thrives on personality. A retro style brings warmth and familiarity to a design. When you use this specific typeface, the slightly uneven curves and nostalgic letterforms immediately tell a story. This is especially useful for small businesses trying to establish a friendly, approachable brand identity. Whether you are designing a logo for a local coffee shop or creating packaging for an artisan bakery, the vintage charm helps your work stand out on crowded shelves.
How do you access all the extra glyphs and swashes?
One of the most frustrating parts of using highly stylized lettering is trying to access the alternate characters. Many basic design programs and cutting machine software do not support advanced OpenType features. Fortunately, this font is PUA encoded. PUA stands for Private Use Area, which means every single glyph, swash, and alternate character is mapped to a standard keyboard character.
If you are a crafter using Cricut Design Space or Silhouette Studio, you can easily open your computer’s character map, copy the specific swash you want, and paste it directly into your canvas. For designers working in Photoshop or Illustrator, you can simply use the glyphs panel to click and insert the exact letter variation you need. This removes the technical headache and lets you focus entirely on the creative layout.
Which projects work best with this style of lettering?
Because of its bold and expressive nature, this typeface is highly versatile for several creative niches:
- Print-on-demand apparel: The thick strokes and retro vibe look fantastic on t-shirts, hoodies, and tote bags. It prints cleanly and remains readable from a distance.
- Paper crafting and scrapbooking: Cut the lettering out of cardstock or vinyl to create custom greeting cards, wedding invitations, or journal covers.
- Social media graphics: Use it for bold headlines on Instagram carousels or Pinterest pins to stop users from scrolling past your content.
- Product packaging: Add a touch of nostalgia to labels for candles, soaps, or craft beverages.
If you are building a broader typography library for your shop, you might also want to explore other bold and quirky lettering styles to give your customers more variety in their design kits.
What should you pair it with for a balanced layout?
A highly stylized display typeface needs a grounded partner to keep the overall design readable. The golden rule of font pairing is to create contrast. Since this retro font has a lot of personality and decorative elements, you should pair it with a very clean, simple sans-serif or a classic, understated serif for your body text.
For a complete branding kit, combining a retro headline typeface with a versatile three-piece typography collection helps maintain visual harmony across different marketing materials. Keep your main display font for the logo, main headings, and short call-to-actions. Let your simpler secondary font handle the paragraphs, pricing details, and contact information.
When organizing your digital assets, keeping your retro display typefaces in a dedicated folder makes it much easier to find the right vibe for your next client brief.
How do you prepare the file for cutting machines?
If you plan to cut this lettering out of vinyl or paper, you need to take a few extra steps to ensure the machine reads the design correctly. First, always convert your text to outlines or paths before sending it to the cutting software. This prevents the software from substituting the font if it isn't installed on the cutting machine's computer. Second, check for any overlapping paths. Use the weld or unite tool in your design software to merge overlapping letters into a single continuous shape. This stops the blade from cutting through the middle of your letters and ruining the final decal.
Quick checklist for your next design project
- Install the font and restart your design software to ensure all glyphs load properly.
- Open your character map or glyphs panel to test out the different swashes.
- Choose a clean, minimal secondary font for your body text to balance the retro headlines.
- Convert all text to outlines before sending the file to a print shop or cutting machine.
- Test print your design on standard paper before committing to expensive vinyl or premium cardstock.
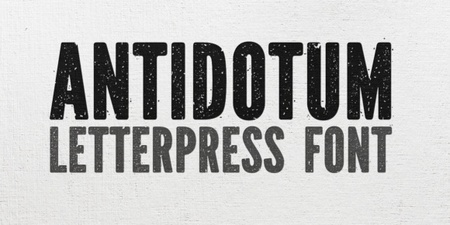 Antidotum Font: Creative Typography Ideas & Projects
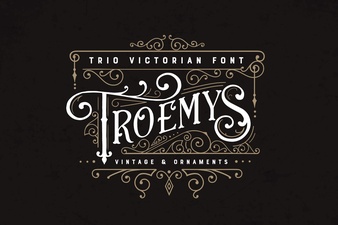 The Troemys Trio: Your Complete Typography Toolkit
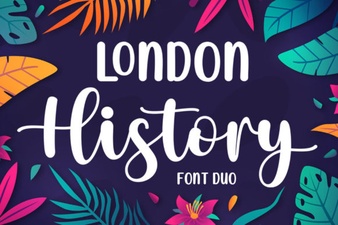 Creative Typography: London's History Through Duo Fonts
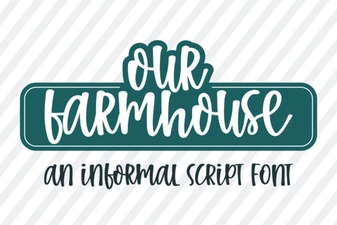 Our Farmhouse Font for Creative Projects
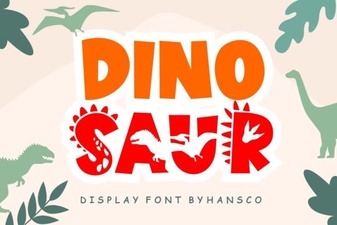 Creative Font Designs for Dinosaur Illustration Projects
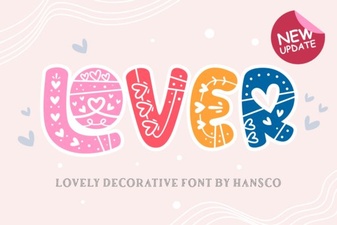 Fonts for Love Letters & Creative Design Projects