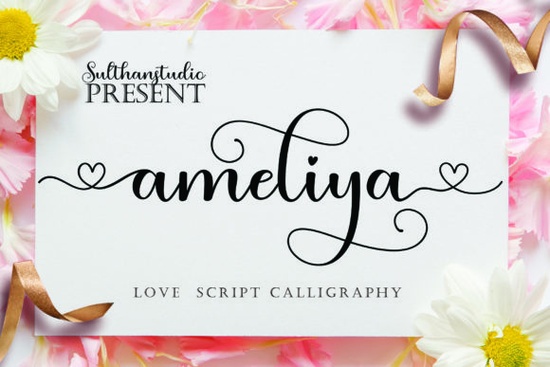
Finding the right script typeface for wedding invitations or romantic apparel can be tricky. You want something that feels handwritten but remains easy to read. The Ameliya Font solves this by offering a cute calligraphy style featuring unique heart ligatures. These little details connect seamlessly on the front and back of specific letter combinations, giving your text a custom, hand-lettered look without the extra effort.
How to access the connecting heart ligatures
To get the most out of this typeface, you need to use software that supports OpenType features or standard ligatures. Programs like Adobe Illustrator, Photoshop, or Affinity Designer will automatically apply the connecting hearts when you type specific letter pairs. The software recognizes the context and swaps in the special characters for you.
If you are using basic tools like Canva or Cricut Design Space, the automatic swapping might not work. In those cases, you will need to manually place the heart swashes or use the glyph panel in a desktop program to access the alternate characters, then export the design as an SVG or PNG for your crafting software.
Where this romantic script works best
This specific style shines in projects that need a warm, personal touch. Print-on-demand sellers often use romantic scripts for couples' matching t-shirts, anniversary mugs, and custom tote bags. For small businesses, it is perfect for boutique packaging, thank-you cards, and seasonal sale promotions. Crafters love it for wooden signs, acrylic cake toppers, and scrapbooking.
If you are designing a rustic wedding suite, you might want to contrast the delicate curves with something more grounded, much like the approach used in rustic countryside typography. This creates a beautiful visual balance between the ornate script and the simpler supporting text.
Pairing ideas for balanced layouts
A highly decorative script needs a solid supporting typeface to keep your layout readable. When setting up a wedding invitation or a product label, use a clean sans-serif or a simple serif for the body text. This ensures your customers can easily read the important details like dates, times, and locations.
For a modern, elegant vibe, try combining it with a sophisticated duo setup, taking inspiration from classic historical typography pairings. If your project is more playful and casual, a relaxed brush style works beautifully, similar to the friendly strokes found in casual brush handwriting.
For everyday crafting and cheerful quotes, you could also look at uplifting daily quote lettering to mix and match different moods. And if you need a slightly more structured but still flowing look for subheadings, checking out modern signature scripts can give you some great secondary options for your design toolkit.
Cutting calligraphy on vinyl machines
If you are using a Cricut or Silhouette machine to cut this design out of adhesive vinyl or heat transfer vinyl, the thin lines and heart connections require a bit of preparation. Vinyl cutters struggle with very thin, unconnected elements, so you have to optimize the file first.
- Weld your text: Always weld or combine the letters into a single layer before cutting. This prevents the machine from cutting out the overlapping spaces and keeps the heart ligatures intact as one solid piece.
- Thicken delicate lines: Use the offset tool in your design software to add a slight border around the text. This gives the vinyl cutter a wider path to follow and prevents tearing when you weed the design.
- Use quality materials: Intricate scripts weed much easier on premium vinyl. Cheaper brands tend to rip at the thin curves during the weeding process, ruining the delicate heart details.
- Adjust machine settings: Slow down the cutting speed and use a fine-point blade. A slower speed ensures the blade navigates the tight curves of the calligraphy without dragging or tearing the material.
Quick setup checklist for your next project
Before you finalize your design or send it to the cutter, run through these quick steps to ensure everything looks perfect.
- Install the OTF or TTF file and restart your design software to ensure the fonts load correctly.
- Enable standard ligatures in your character or typography panel.
- Type your text and check the glyph panel for any extra heart swashes you can add manually to the ends of words.
- Weld or flatten the design if you are sending it to a vinyl cutter, laser engraver, or embroidery machine.
- Test print or cut a small sample on scrap material before running your final batch to check the weeding and readability.
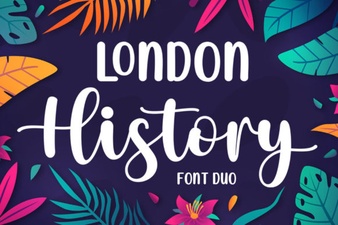 Creative Typography: London's History Through Duo Fonts
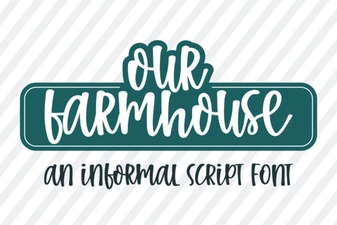 Our Farmhouse Font for Creative Projects
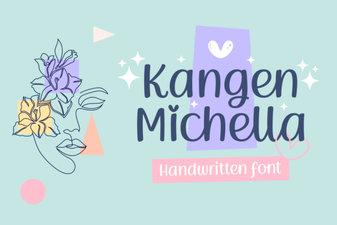 Kangen Michella Font: Creative Projects and Uses
 Quarantine and Chill Font for Creative Projects
 Almond Script: a Beautiful & Creative Font
 Milky Matcha Font: a Creative Design Toolkit