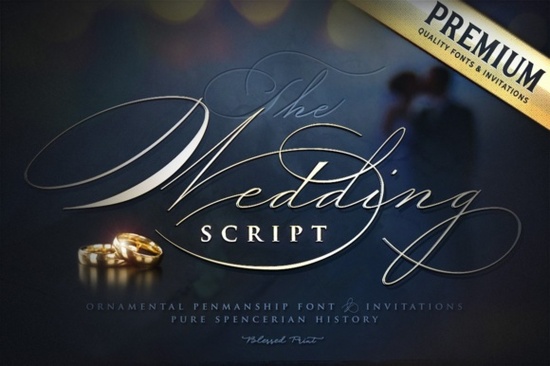
Choosing the right typography for a marriage ceremony or a special anniversary event sets the tone for the entire celebration. When designers and crafters look for lettering that feels both traditional and deeply personal, they often turn to beautifully ornamented typefaces. The Wedding Script Font is a gorgeously decorated option that brings a striking, elegant feel to formal stationery. Whether you are designing paper invitations, crafting acrylic table signs, or setting up a menu for a reception, having a reliable, highly decorative typeface in your toolkit makes the process much smoother.
According to general Wedding Script design principles, the key to using heavily ornamented lettering is balance. You want the text to look luxurious without becoming impossible to read. This specific style of lettering features sweeping swashes and delicate flourishes that mimic high-end calligraphy, making it a favorite for print-on-demand sellers who create custom bridal merchandise.
What makes a good script typeface for formal stationery?
Formal events require typography that feels intentional and refined. A good decorative typeface should have smooth curves, consistent stroke widths, and natural-looking connections between letters. When you are working with this particular elegant typeface, you will notice that the capital letters feature extensive flourishes. These decorative elements are perfect for the first letter of a couple's names or the main heading on an invitation suite.
However, not every project calls for heavy ornamentation. If you are designing a casual backyard reception or a rustic save-the-date card, you might want to pair your main heading with a more relaxed handwriting style like Kangen Michella. Mixing a highly decorated heading with a simpler, cleaner body text ensures your guests can easily read the date, time, and location details.
How can small businesses use ornate lettering for branding?
Beyond bridal stationery, small business owners and boutique creators use elegant lettering to build a premium brand identity. Think of artisan bakeries, high-end florists, or luxury wedding planners. These businesses need logos and packaging that communicate quality and attention to detail.
When creating a logo, the sweeping tails and ornate capitals found in formal scripts can frame a brand name beautifully. If your client prefers a more minimalist or contemporary aesthetic, you might suggest a cleaner, modern alternative like Linkgray for their primary logo, while keeping the heavily ornamented styles for special seasonal packaging or limited-edition product labels.
Which craft projects work best with highly decorated text?
Crafters and hobbyists working with cutting machines or letterpress setups will find that thick, flowing scripts translate wonderfully to physical materials. Here are a few projects where ornate lettering truly shines:
- Acrylic welcome signs: The sweeping swashes look beautiful when cut from clear or mirrored acrylic.
- Wax seal stamps: A monogram using the ornate capital letters creates a highly professional, custom seal for envelope closures.
- Letterpress coasters: The thick and thin stroke variations press deeply into cotton paper, creating a tactile experience for guests.
- Foil-stamped menus: Adding gold or rose gold foil to the headings of a dinner menu instantly upgrades the dining experience.
If you are designing merchandise for a bridal party, such as canvas tote bags or denim jackets, you need lettering that remains legible on fabric. Sometimes, the friendly approach of Camaraderie works better for apparel because the letters are slightly more spaced out and easier to embroider or print on textured surfaces.
What should you check before sending your files to the printer?
Working with heavily decorated typography requires a few extra technical steps before you send your design to production. Because the swashes and tails extend far beyond the standard bounding box of the letters, they can easily get cut off or overlap awkwardly if you are not careful.
Always convert your text to outlines or paths before exporting your final PDF. This prevents the printer's software from substituting your beautiful lettering with a default system typeface. You should also pay close attention to kerning. While the lowercase letters connect naturally, the large capital swashes often require manual spacing adjustments so they do not crash into the surrounding words.
Finally, consider the paper stock. Highly detailed, thin flourishes can get lost if printed on heavily textured or dark paper. For the best results, use smooth, high-quality cardstock in light colors. If you want to explore vintage-inspired options such as Gatkins for a darker, moodier invitation suite, make sure to test a single print proof first to ensure the thin lines hold up in the ink.
Final pre-print checklist for your stationery files
Before you finalize your design and send it off, run through this quick checklist to ensure everything prints perfectly:
- Outline all text: Convert your type to vector paths to lock in the design and prevent font substitution.
- Check the margins: Ensure no long swashes or tails extend past the safe bleed area of your document.
- Adjust manual kerning: Fix any overlapping flourishes, especially around capital letters and punctuation marks.
- Verify color profiles: Convert your file to CMYK if your printer requires it for offset printing.
- Order a physical proof: Always print one test copy on the actual paper stock to check the legibility of the thinnest strokes.
 Creative Typography: London's History Through Duo Fonts
 Our Farmhouse Font for Creative Projects
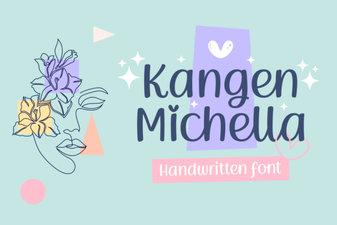 Kangen Michella Font: Creative Projects and Uses
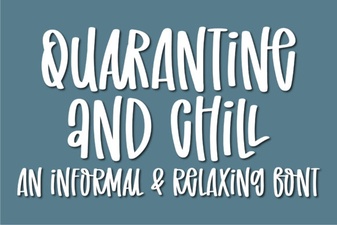 Quarantine and Chill Font for Creative Projects
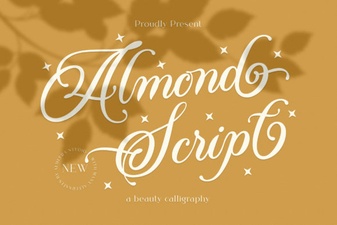 Almond Script: a Beautiful & Creative Font
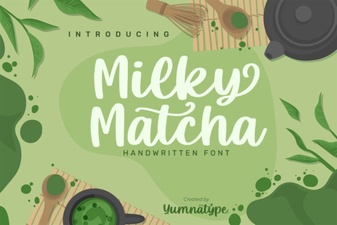 Milky Matcha Font: a Creative Design Toolkit